


Spectroscopy Part 1 - Spectroscopy with a DSLR and SA100 Grating
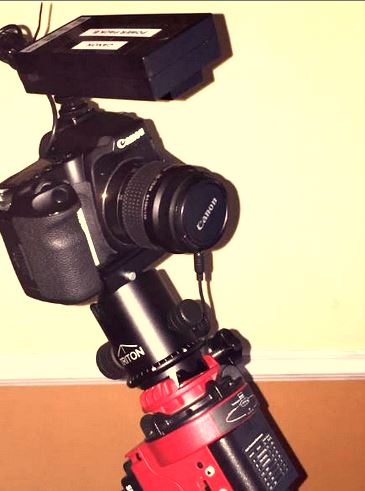
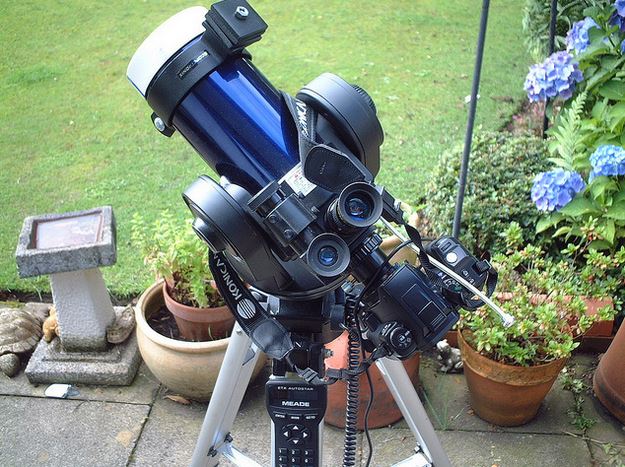
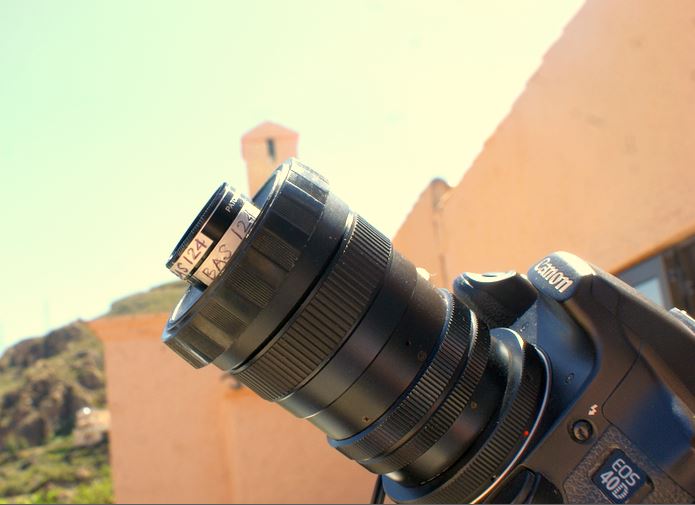
I have an SA100 grating on loan from Bolton Astronomical Society that I decided to put into action with my Canon 40D DSLR. Although I had used this grating previously with a CCD camera I had not tried the DSLR. The advantage of using a DSLR is that it can give boost to the resolution of the grating by positioning it in front of the camera lens as opposed to using it beween a CCD camera and telescope. I cut a rough hole in the lens cap for my 135mm manual lens (that I used to use with a Zenith B film camera in the old days) and screwed the grating and spacer into it. A firm fit.
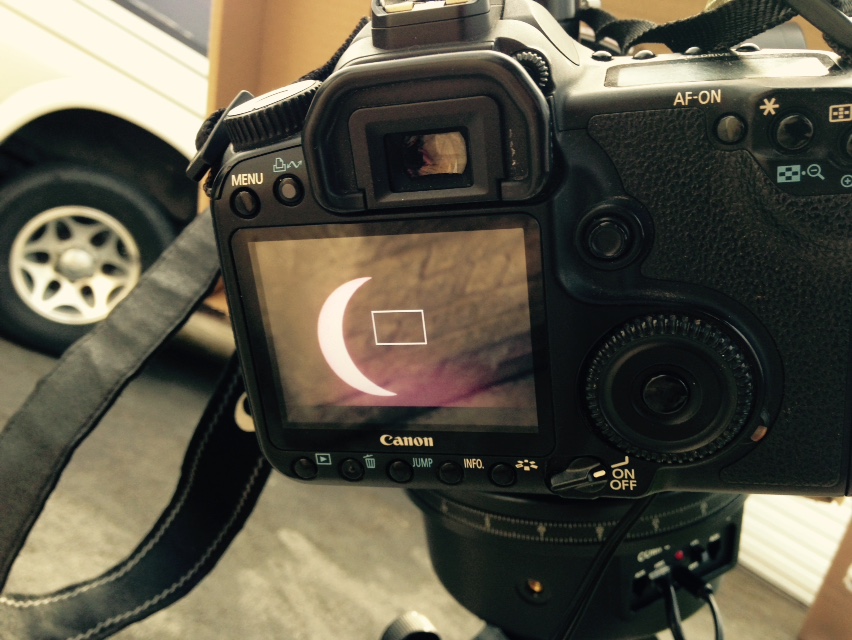
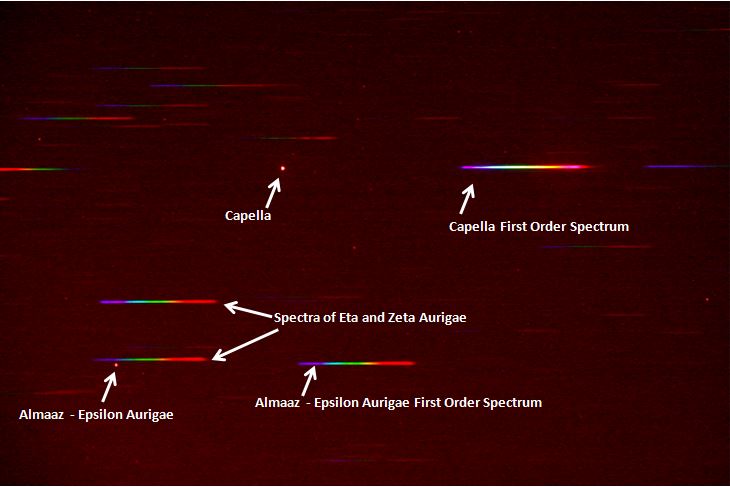
I used the APT software to get Capella into the field of view. What you need to do is get the star on the left hand side of the screen to allow space for the first order spectrum on the right of that. It is best to get the spectrum horizontal although you can rotate it to the horizontal later but that may introduce artifacts. I then added the lens cap with the grating and eventually ended up with a horizontal coloured spectrum after a bit of trial and error rotating the lens cap.
This is a 30 second image. The spectra of Capella and Epsilon Aurigae are shown. Both of these can be analysed but the spectra of Eta and Zeta cannot because you need to be able to see the (zero order) star in each case as well to be able to calibrate the spectrum.
This was just a trial to see if I could produce spectra from the DSLR grating combination - this was my first attempt at this.In reality I need a less common Type A star as my first attempt at science with the DSLR and grating rather than Capella which is a type G star. This is because in order to determine the spectral resolution in Angstroms per pixel and to calibrate the profile X axis in Angstroms rather than pixels I need to have a star with clearly defined Hydrogen Balmer lines that I can guarantee are correct.
Continued in Part 2
 [Your Name Here]