My Astronomy


Click here for main

Home Page

 including Dominic

Ford's excellent

monthly calendar


My New Book May 2018


ABOUT THE WEBSITE - CLICK HERE

My Telescopes

My Main Telescope - C14 and Paramount ME

My new Paramount MyT and 8-inch Ritchey-Chretien Telescope

MyT Hand Controller

My Meade 12 inch SCT on a CGEM (Classic) Mount

My 4 inch Meade Refractor with Sky Watcher Guidescope and ZWO camera on a CGEM (Classic) Mount

Skywatcher Star Adventurer Mount with Canon 40D


My Solar setup using a DSLR and Mylar Filter on my ETX90

DSLR attached to ETX90. LiveView image of 2015 partial eclipse on Canon 40D

Astronomy Blog Index
About the Site

 I try to log my observing and related activities in a regular blog - sometimes there will be a delay but I usually catch up. An index of all my blogs is on the main menu at the top of the page with daily, weekly or monthly views. My Twitter feed is below. I am also interested in photograping wildlife when I can and there is a menu option above to look at some of my images. I try to keep the news feeds from relevant astronomical sources up to date and you will need to scroll down to find these.

The Celestron 14 is mounted on a Paramount ME that I have been using for about 10 years now - you can see that it is mounted on a tripod so is a portable set up. I still manage to transport it on my own and set it all up even though I have just turned 70! It will run for hours centering galaxies in the 12 minute field even when tripod mounted.


My Recent Tweets
Tuesday
Mar042014

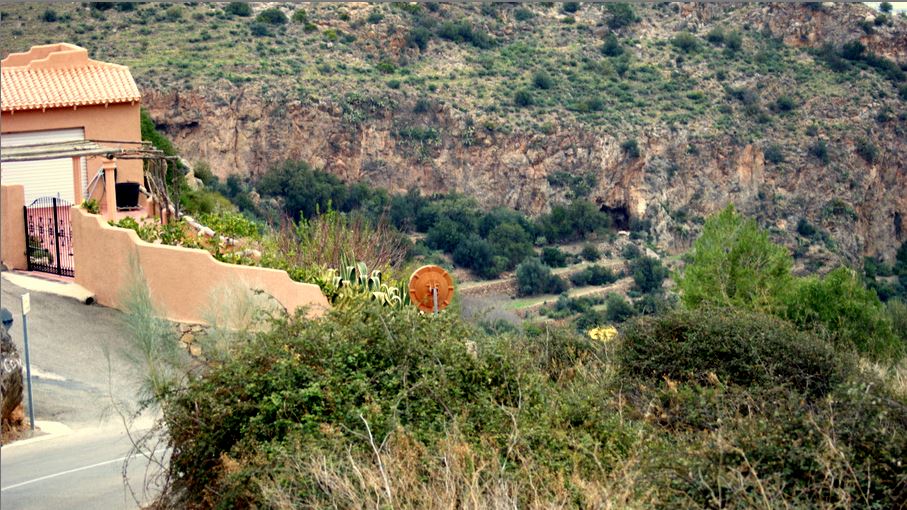
Day 21 Visited Bedar and The Solar Explorer and Imaging through the ETX90 with the Canon 40D

I spent much of the day with friends Andy Devey and his wife Judy. Andy is known as "The Solar Explorer" and is a well regarded solar observer. His web site is here. I think he is going to do very exciting things for solar astronomy now that he is established in Spain. He is doing a lot of outreach and is now delivering talks and writing articles in Spanish.

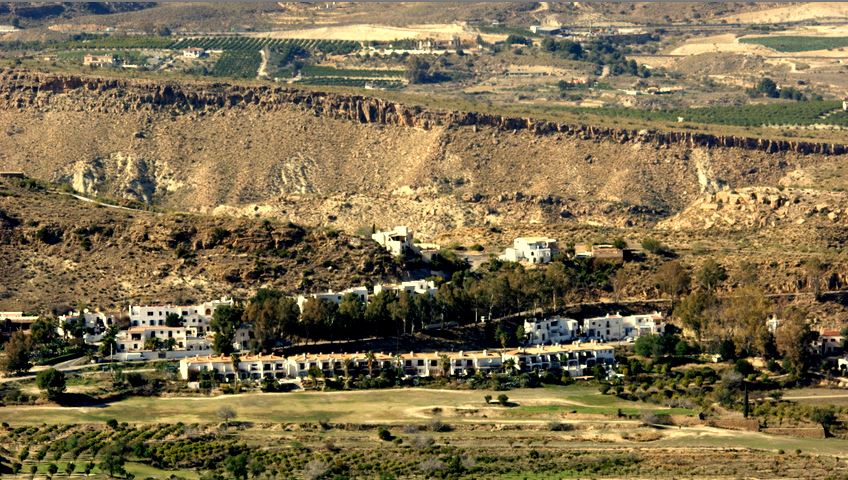
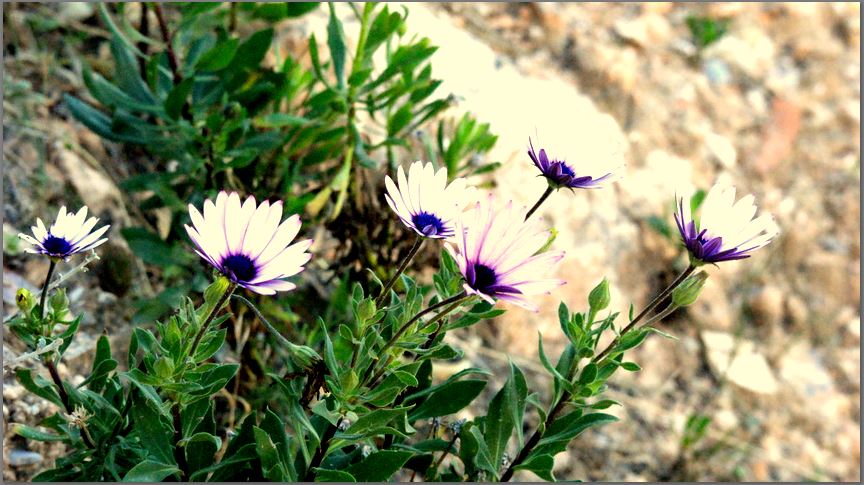
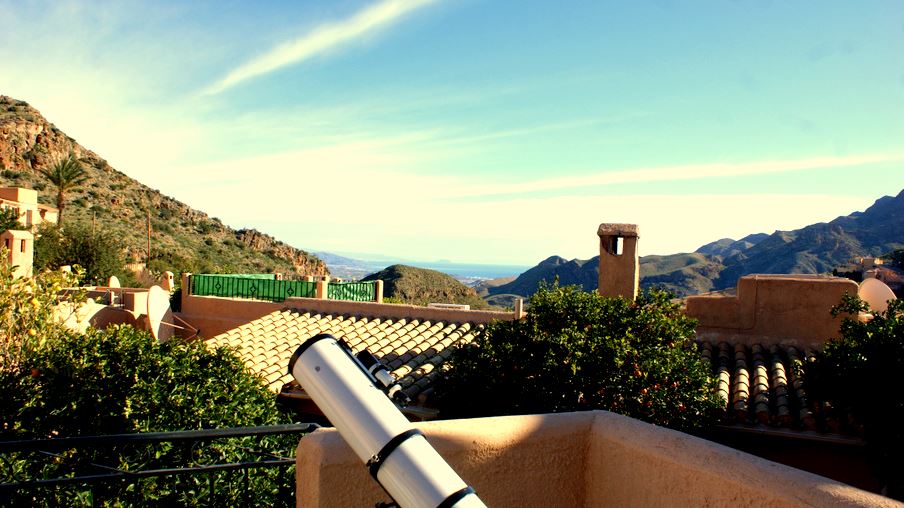
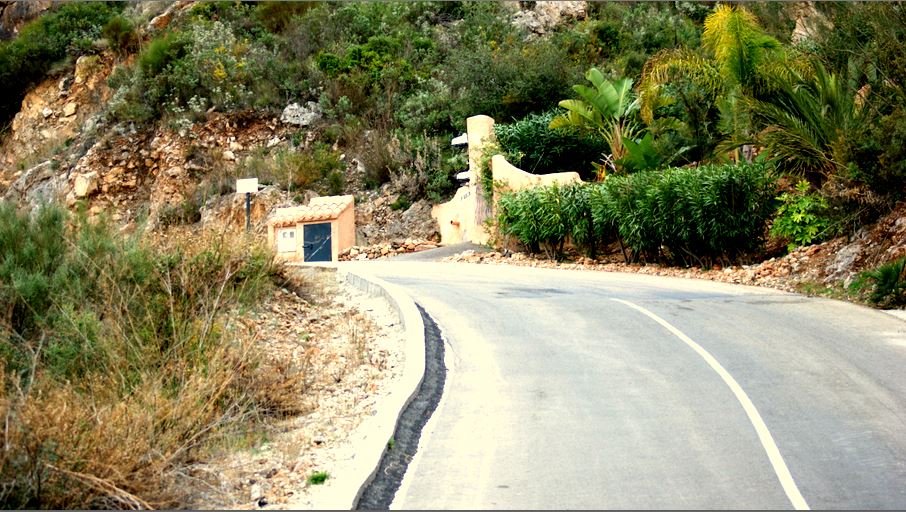
It was a warm sunny day that went off a little later in the afternoon but then recovered and I was able to do some imaging later in the evening.

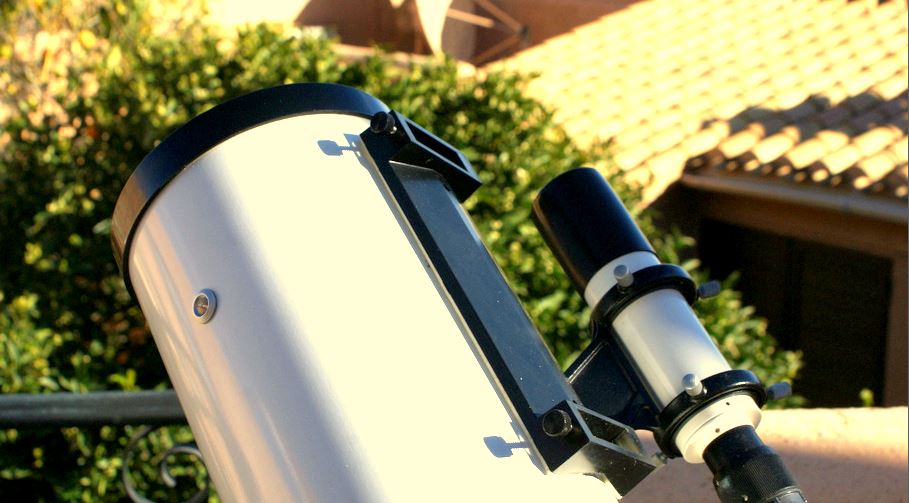
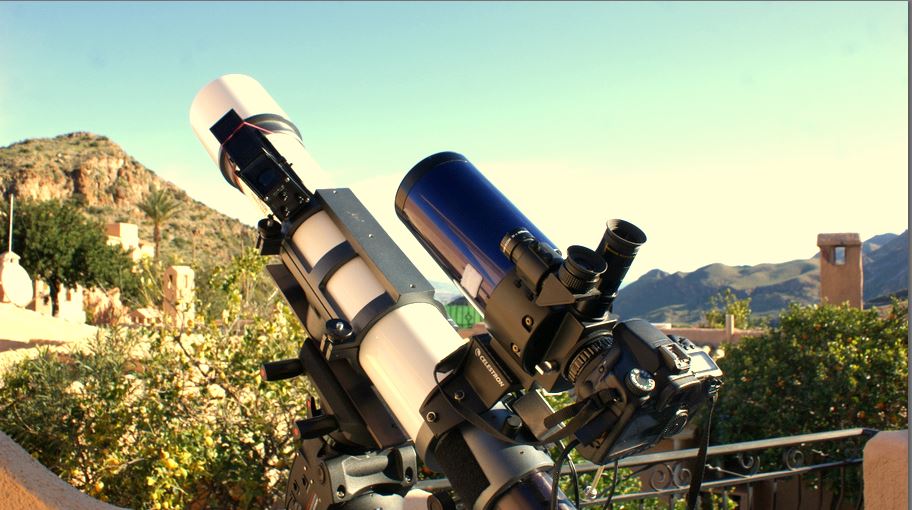
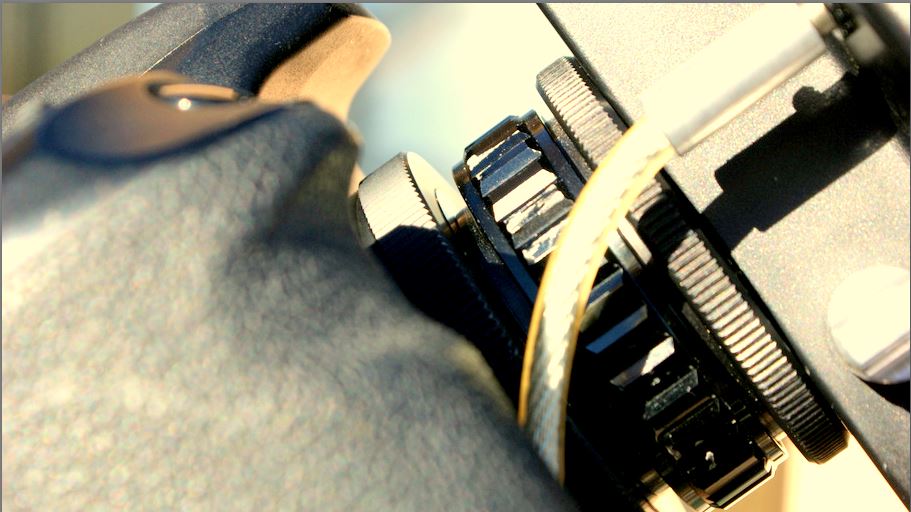
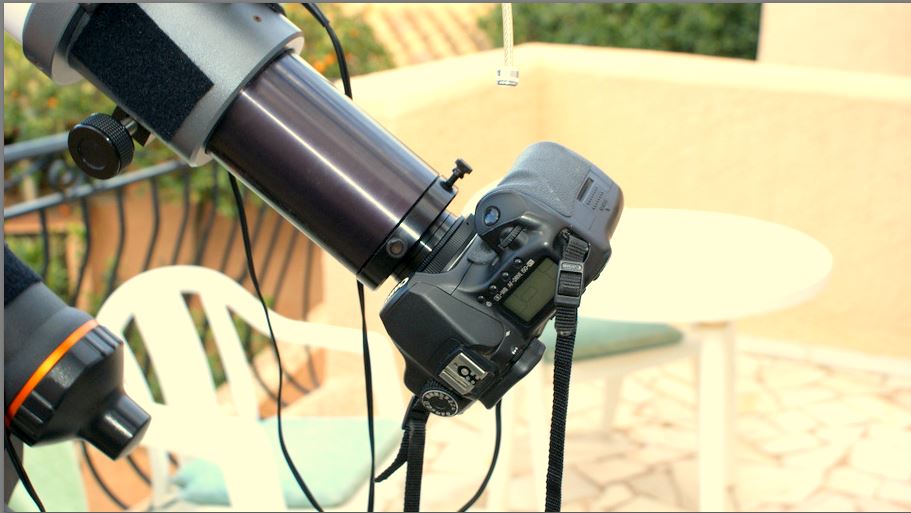
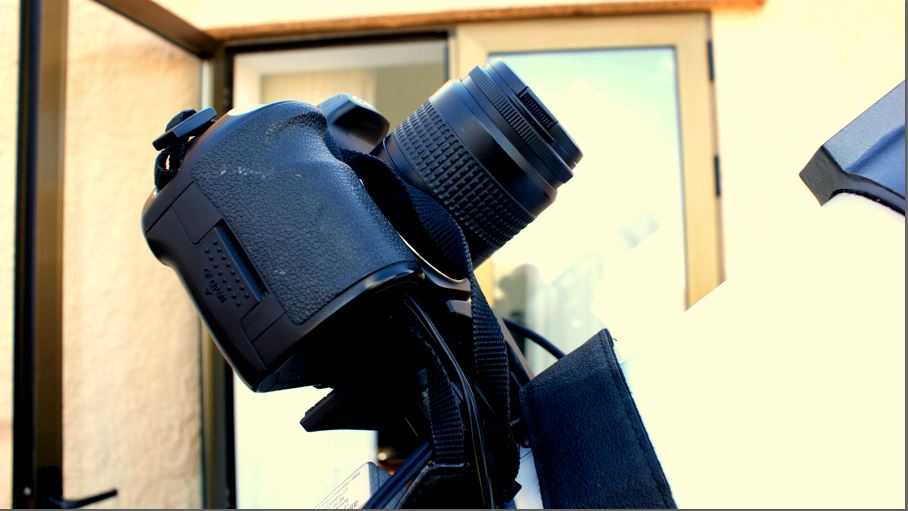
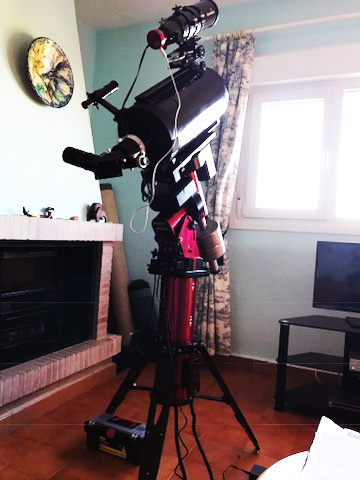
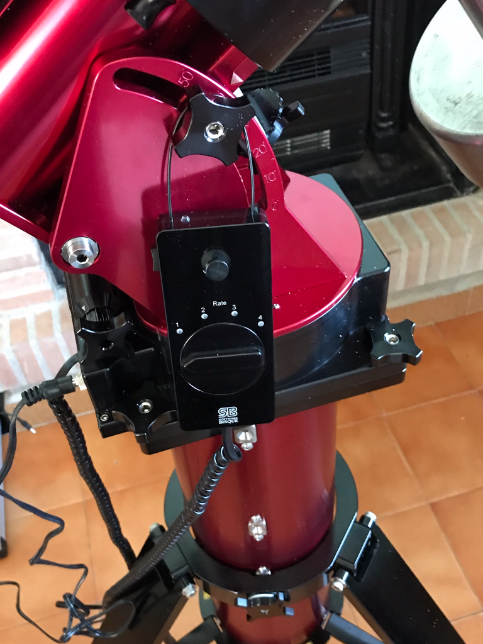
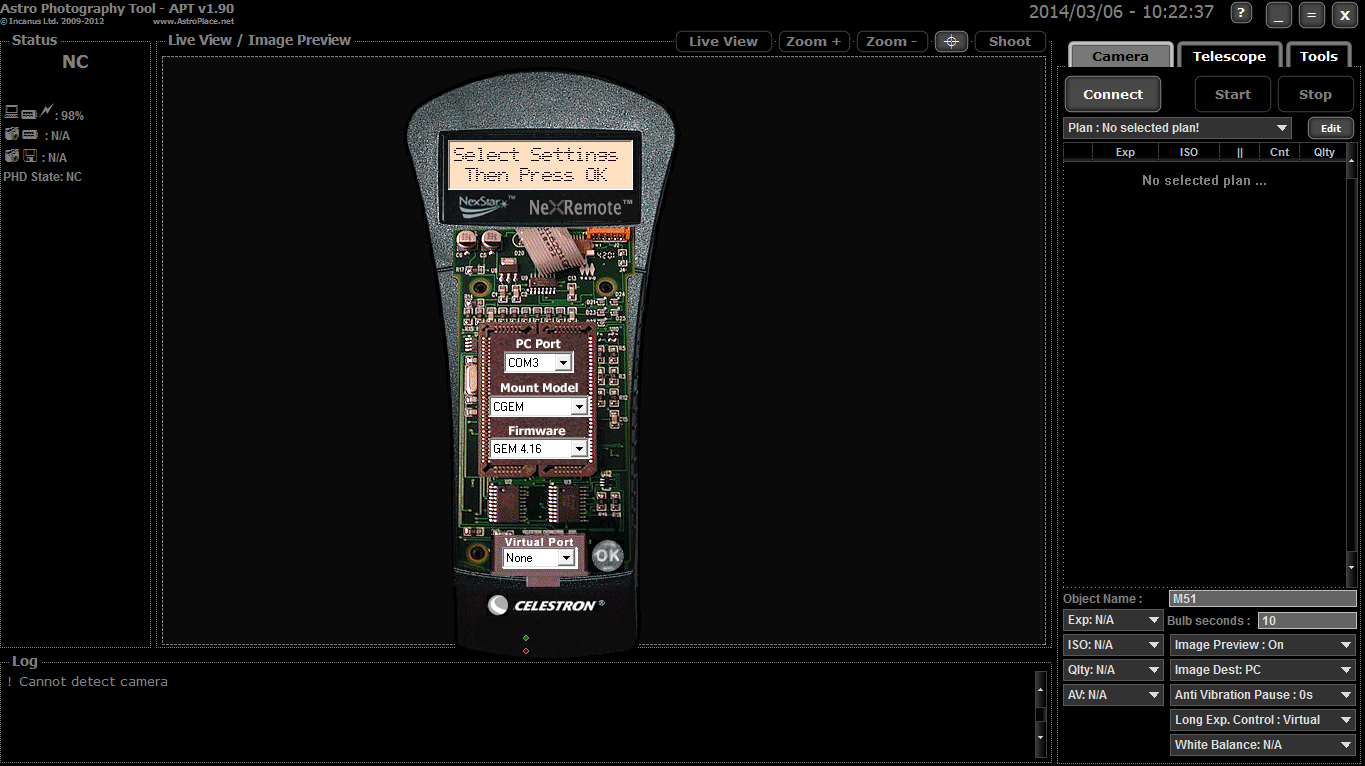
I am trying to refine a technique for imaging using the CGEM and associated software. Initially I set up the system to image using the handset and the Sky6 software. This worked fine but I had problems in making minor adjustments to the telescope position using Sky6. I set up NexRemote that I had tried previously which replicates the handset on the computer screen.This is it being used with APT at the same time.


 Once you get the CGEM ready message - you are ready to go!

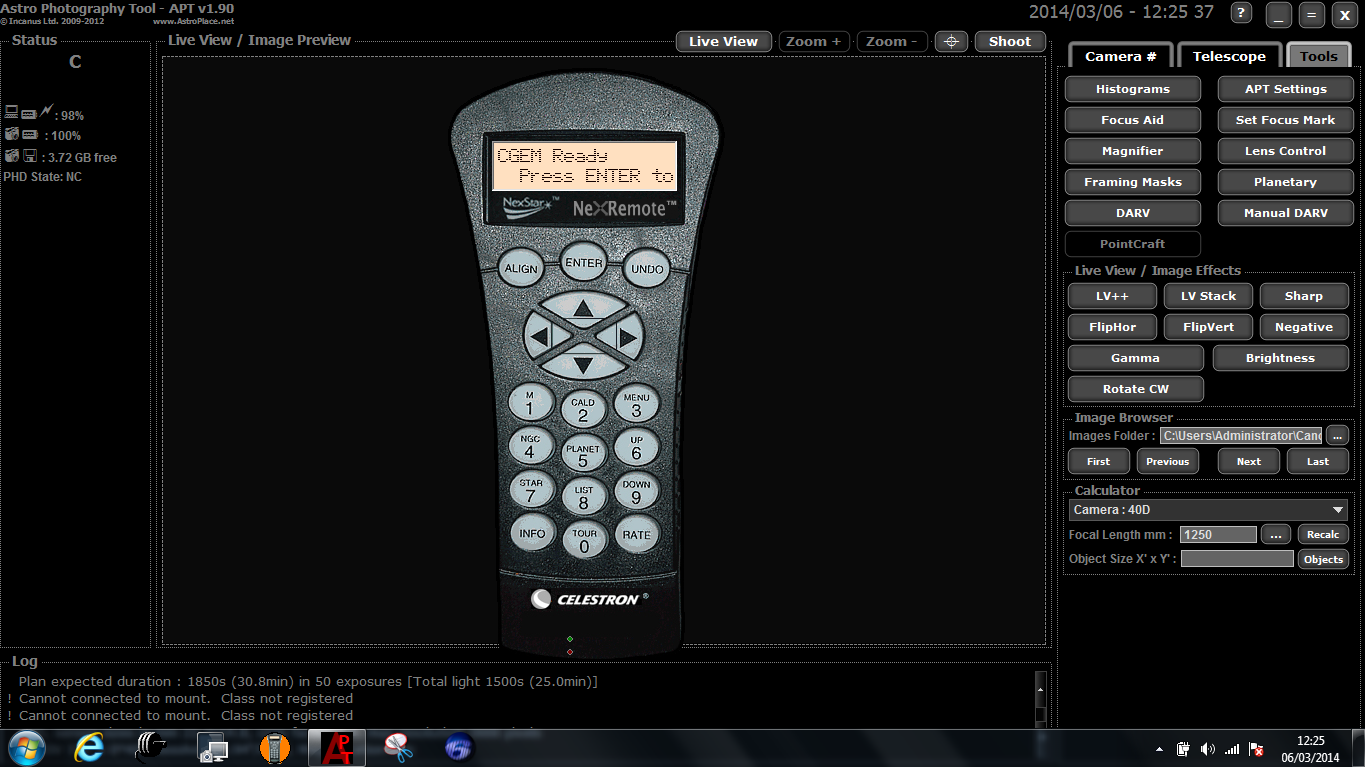
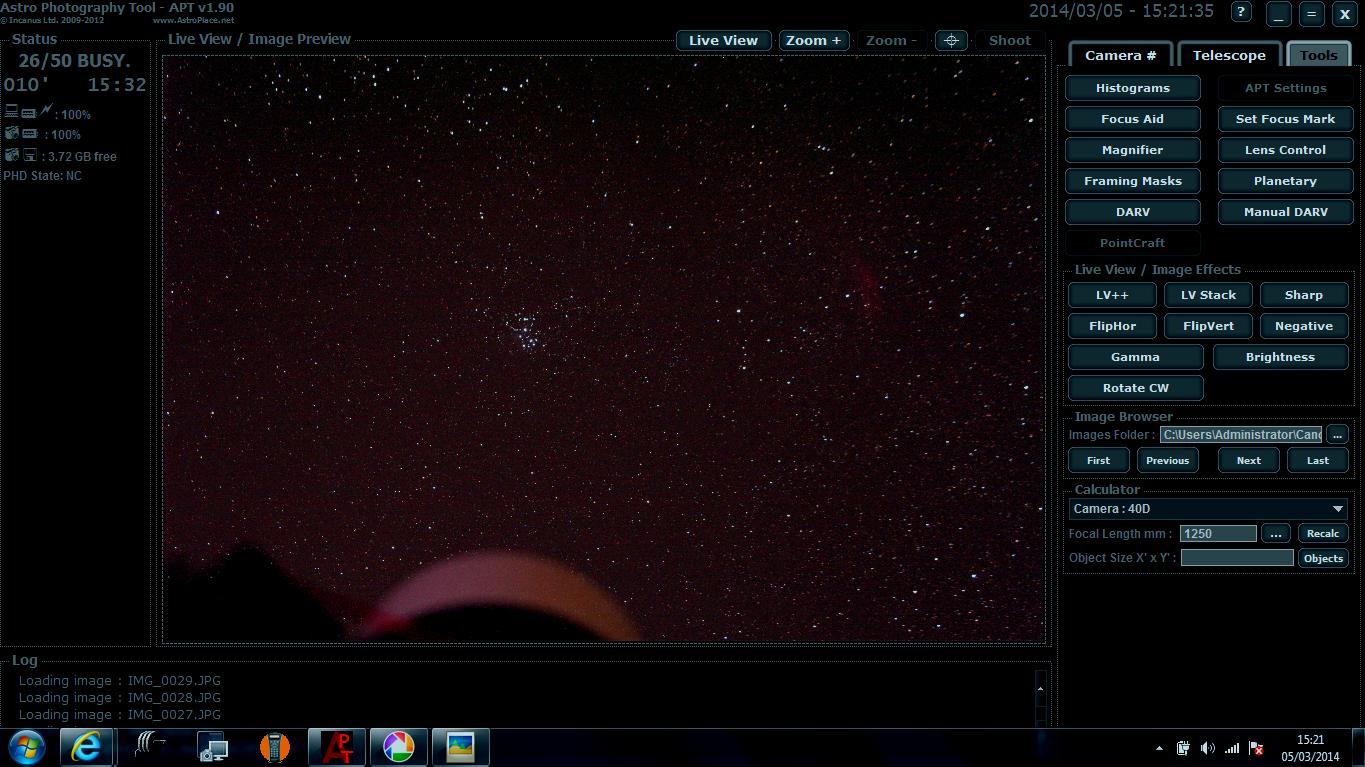
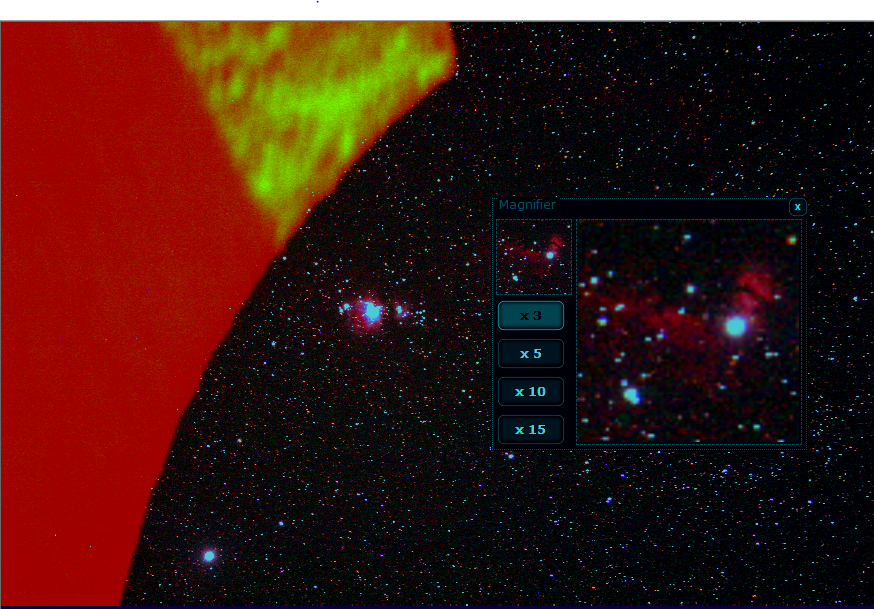
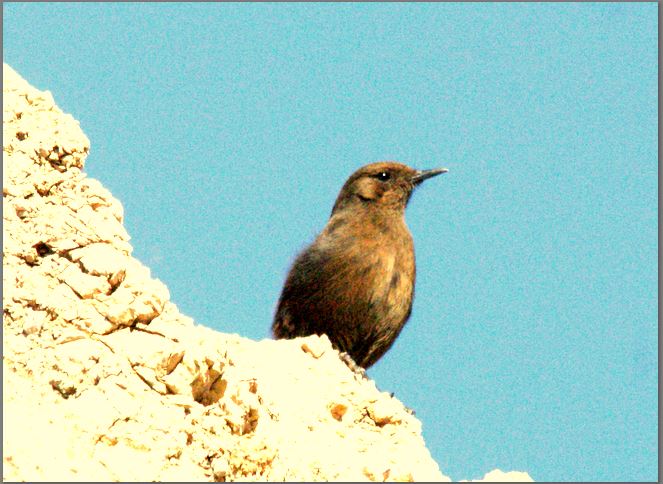
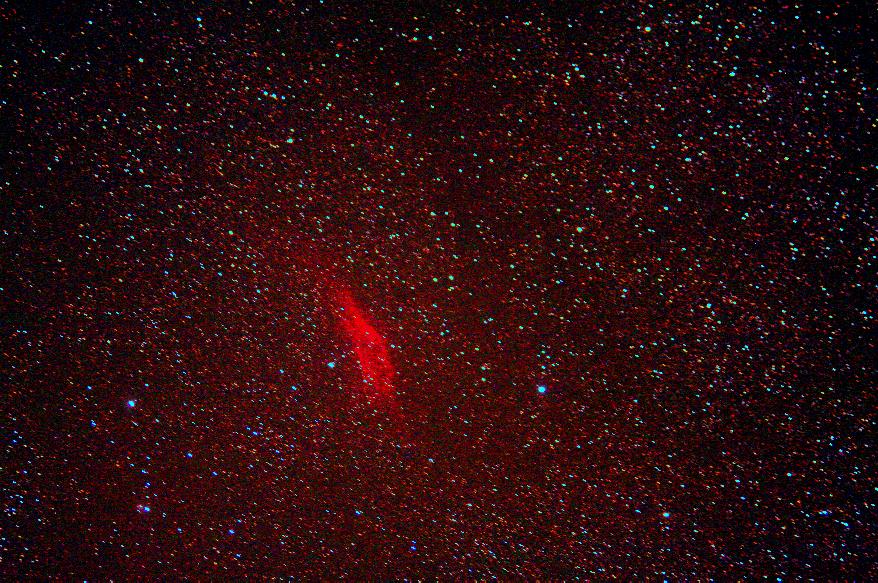
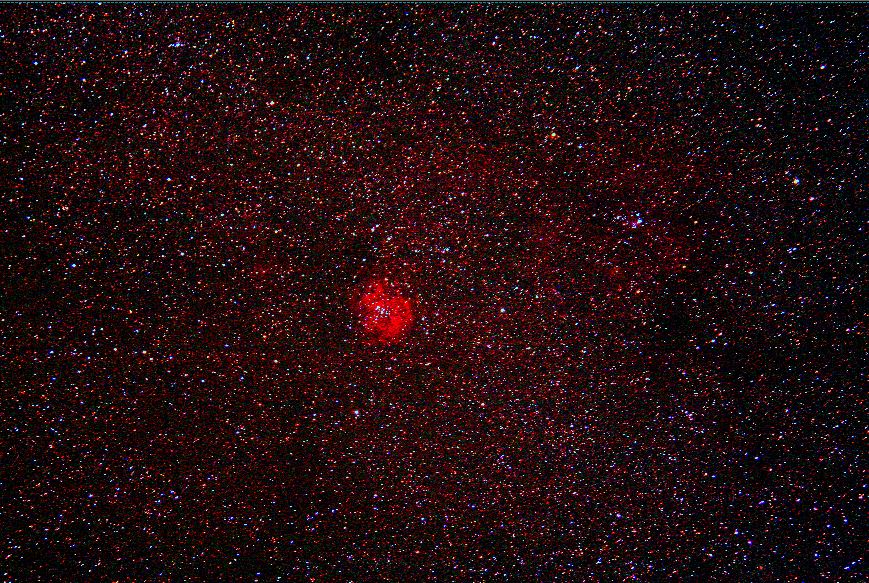
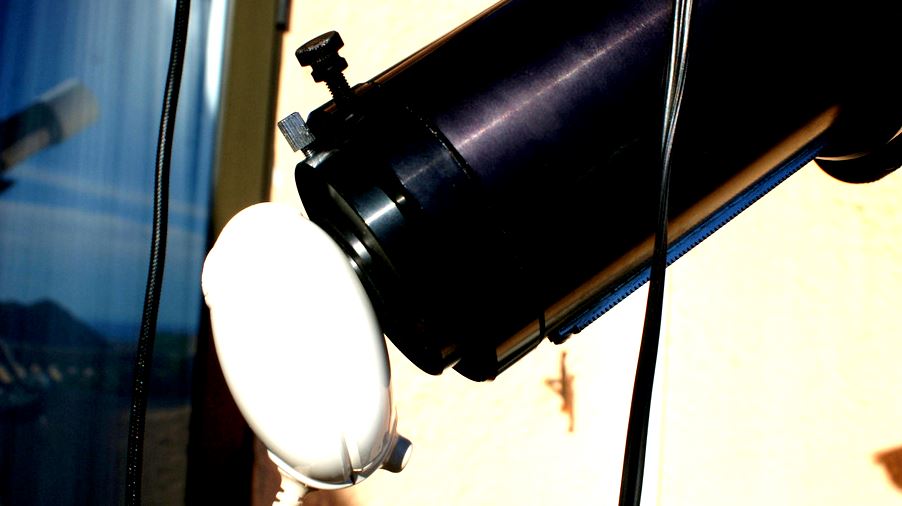
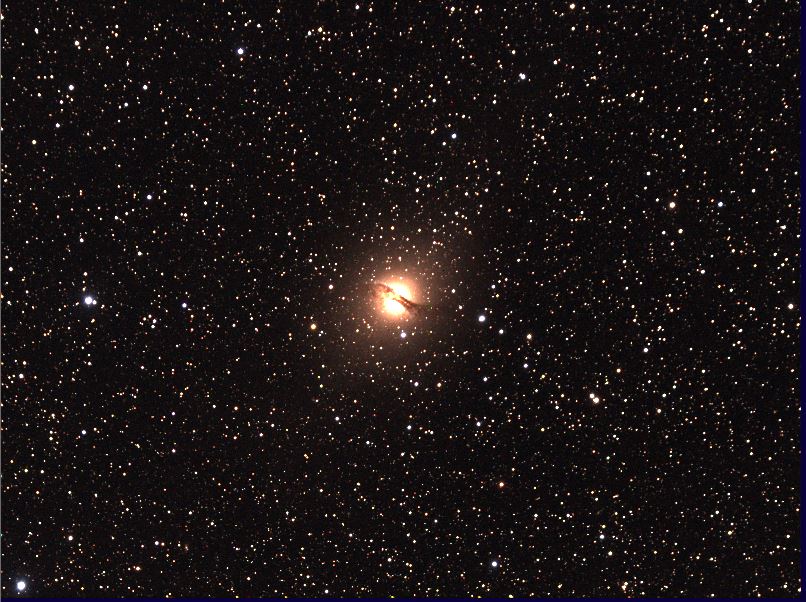
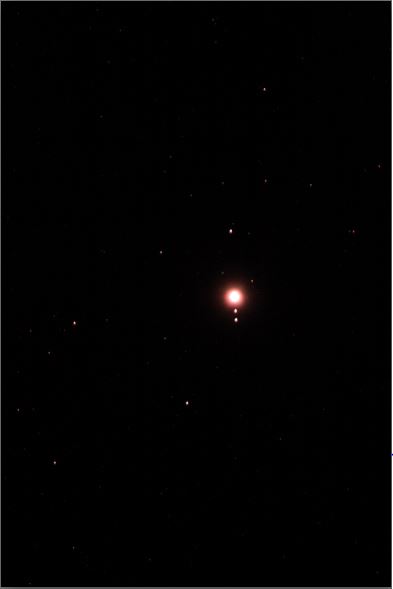
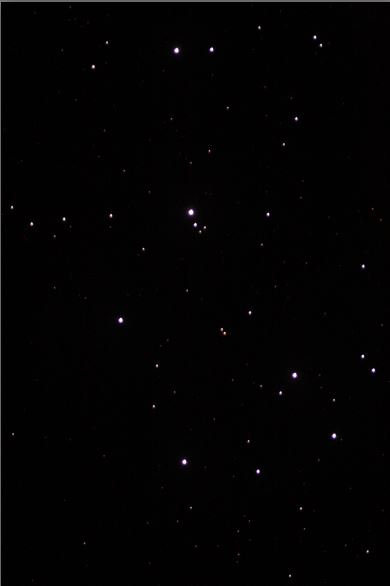
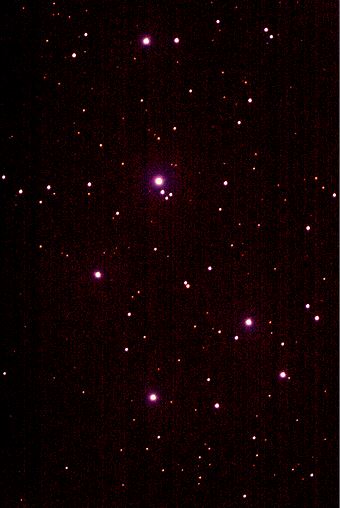
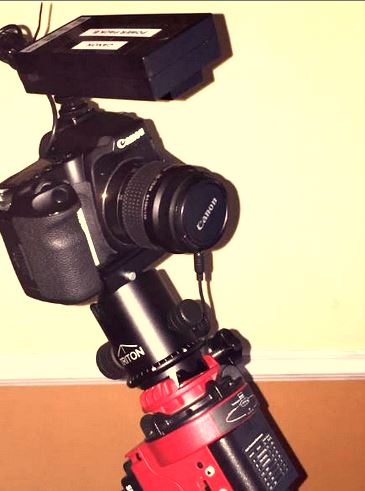
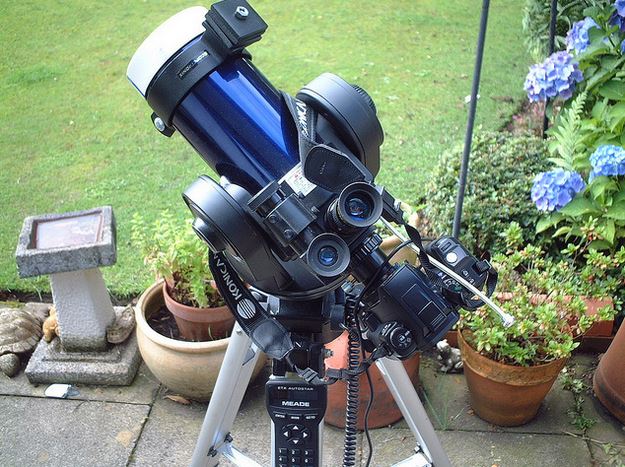
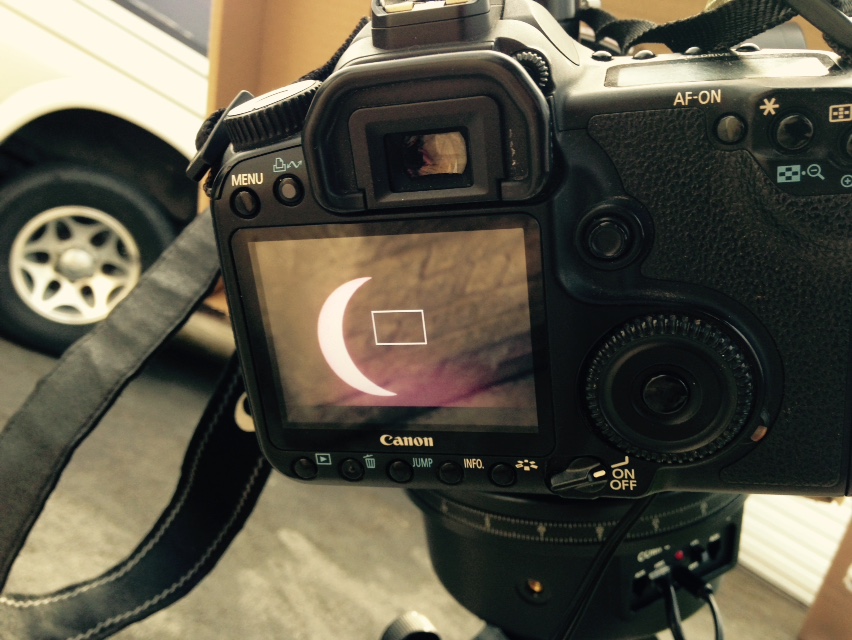
You can set Nexremote to be always on top of APT. These are the settings that I used on Nexremote to connect to the CGEM. When I click OK it connects and acts as though it was the actual handset on the CGEM. You need to go through the process of setting or confirming the time and zone etc (It does remember these for next time) and enter the alignment process. I went through the alignment process with two stars and then two more. Using APT at the same time you can look at the Live View to check if your alignment stars are in the field of view - setting the brightness to 200%. At first the Live View screen was blank - I was way off - not surprising because at this stage I have only used a compass to set the azimuth and set the altitude from the CGEM scale! The process I used with the ETX and Canon combination was to slew to the first alignment star using Nexremote from inside the house, go out and check the pointing on the Telrad finder - way off - and use the real handset to centre the star on its cross hairs - you can adjust the cross hair brightness on the Telrad depending upon how bright your star is - it is easy to lose the star by having the brightness turned up too much! Having done that I went to the ETX Finder and centred the star in that (I had of course aligned the Telrad , ETX Finder and ETX Main scope previously). The advantage of the ETX is that it has a flip mirror arrangement that allowed me to have an eyepiece that can view exactly what the camera will see by flipping the flat knob on the side of the telescope. I turned the knob and centred the star in the 32mm eyepiece (Focal Length of the ETX is 1250mm - you can do the maths to work out the magnification) When I went back inside to the APT Live View - there was the star in field of view - it had to be there because I could see it through the flip mirror eyepiece on the ETX! The only problem will be if it is too faint a star to be seen by Live VIew. I adjusted the position of the star using the cross hairs option and the Nexremote slow motion controls - I found a setting of 4 worked well. The centred star is shown below.


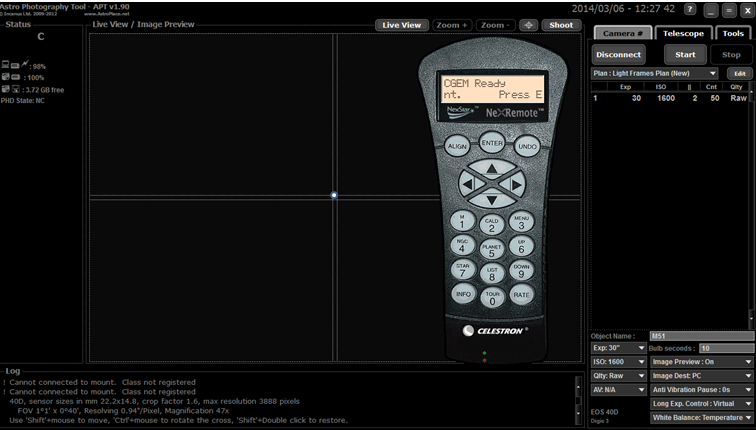
I then told Nexremote that the star was aligned in the finder and the eyepiece - exactly as you would do on the actual handset and selected another star and repeated the process. By the time I had aligned on two stars and slewed to a third calibration star it was appearing directly on the APT Live View screen so the process became entirely remote for centring and telling the CGEM it was aligned.

Monday
Mar032014

Day 20 APT - Astrophotography Tool software setup and images.

Similar to yesterday - breezy and sunny with light cloud. I decided to set up APT  - Astro Photography Tool to use with my Canon 40D instead of the EOS software that began to behave erratically apparently - in reality it was due to the almost full hard disk on my computer. However APT is specifically astronomy oriented so worth making the transition.

A description of the software is here.

 This shows a previously taken image opened in the image browser. There is a live view option that can be selected to check pointing and focus. A key thing to know at this stage is the brightness adjustment that allows adjustments up to 200%. Objects hardly visible at normal brightness become much brighter. A very useful feature.

A particularly good feature is the way in which the software will calculate the Field of View and Image Scale if you tell it the focal length of the lens or telescope. The camera details are added by the software once it knows which camera you are using.

The magnifier allows you to see the images in detail. For example the Flame Nebula can be seen on this short exposure 38mm lens image.


 Selecting the Camera Tab allows you to connect the camera and select a Plan from a predetermined list. The plans editor is where you set up the plans for flats, darks ,lights etc.

 NOTE: The brightness adjustment button!! Very useful.

Sunday
Mar022014

Day 19 Sierra Cabrera Views, Canon 40D images of the California Nebula and the Rosette Nebula.

A warm and sunny day but windy again with passing clouds.

Some Cabrera views on my walk.


More images taken with my Canon 40D and 38-76mm zoom lens.


CALIFORNIA NEBULA

ROSETTE NEBULA

Saturday
Mar012014

Day 18 Centaurus A video, Webcam set up.

Not a good day today - cloudy and very breezy up here at about 1200 ft. above the sea. Have  looked at New Mexico, Sierra Nevada and Siding Spring Telescopes today - all clouded out! On Day 15 I talked about my remote image of Centaurus A repeated here

Browsing through the huge NASA video database I came across this video about Chandra X-Ray observations of the galaxy released just a few days ago. It shows a spectacular jet from the black hole at the centre.


I set up the webcam today focusing it on the mountains - still have a problem with the USB hub - can't get it to work. It worked every time in the Leyland dome - can't see the problem. I realised I was using the wrong mains socket - some Spanish sockets have an earth and some don't. The telescope and cameras were plugged into one with no earth - I could feel a tingle on the tripod legs that made me realise. Plugged into an earthed socket now - no tingle!

I now have 3 usb cables running outside for the telescope, the Canon 40D and the webcam. They all work - but should do through 1 cable and the hub!

 The evening was cloudy so again no observing.


Friday
Feb282014

Day 17 Telescope location video and local bird life.

A really bright and sunny day first thing in the morning.

A brief video showing the location - apologies for the noisy sparrows.

The telescope shadow on the air conditioning unit on the terrace


Notice the TAL 1 has just the Telrad base as the Telrad itself has been transferred to the 4" refractor. A very nifty arrangement!


There was some bird activity

A sparrow thinking of ending it all


Oh no...

It landed safely

and a White Wagtail on a nearby chimney

Still no sign af any Bonelli's Eagles

This is a previous image

 Unfortunately the weather went downhill so no astronomy today.


Thursday
Feb272014

Day 16 - Windy day - Cloudy New Mexico - Canon 40D attached to ETX90 - Toucam Pro attached to 4" Refractor. - 

Not a bad day but sufficiently windy to get me worried about the telescope outside. I have added securing lines fixed at three points that should keep it safe! I started to take an image on Telescope T20 in New Mexico but part way through the roof closed due to bad weather. I decided to transfer the Canon 40D from the Meade 4" to the Meade ETX90 for a trial.


This is how the camera is attached


 I also decided to attach my Toucam Pro 740k to the Meade 4" refractor.

The Toucam Pro is a fairly old Webcam shown in its original planned method of use here:

There is a special adaptor that replaces the Toucam lens with a 1 1/4 inch tube that fits into the eyepiece holder.

Here is a closer look at the threaded end that screws into the Toucam


and the removed Toucam lens


and here it is with the adaptor in place


This is the USB webcam ready to be connected to the telescope.

and plugged in to the eyepiece holder.


ready to go when connected to the computer.


The day remained fairly windy and clouded over but I noticed it was clearing towards midnight but decided to wait for an earlier start - hopefully tomorrow!

Wednesday
Feb262014

Day 15 - Sparrows - Centaurus A - Uphill Climb - Telescope Setup - Images of Jupiter and The Pleiades.

A similar day to yesterday - clear and sunny in the morning with the odd bit of cloud around.

Plenty of sparrows here in Cabrera - this is one of them perched on a chimney this morning. They like to congregate on the Orange and Lemon trees.


I have been looking at a remote image I took of NGC 5128 also known as Caldwell 77.  This has to be one of my favourite Southern Hemisphere objects  - the stunning peculiar galaxy NGC 5128  in the constellation of Centaurus, the Centaur,  which is half man, half horse. Centaurus A is so named because it is a strong radio source detected using radio telescopes. The original method of naming radio sources allocated the letter A to the strongest source in a constellation, B to the next strongest and so on. This is the image.


This was taken using telescope T13 at Siding Spring and is a 10 minute exposure on a single shot colour camera.  It has now been shown that Centaurus A is  the result of a collision between an elliptical galaxy and a spiral galaxy with dust lanes providing the material for the dark bands. Confirmation of this was provided by the Spitzer Space Telescope following its launch in 2003. Spitzer is an infrared telescope and was able to peer into the structure and actually produce an image of the spiral galaxy.


I have been trying to find the distance to this S0  type galaxy and it proves quite difficult. Opinions vary! A paper by Harris et al in 2009 gives a distance of around 3.77 Megaparsecs which is equivalent to approximately 12.3 million light years.

I "solved the plate" i.e.matched the image to a star chart which then provides me with data on that image.

So the position of the centre of the image on the sky is given by the Right Ascension (RA) and Declination (DEC) coordinates and the angular size of the image is calculated as shown. The camera has 1600 X 1200 pixels and each pixel corresponds to 3.65 seconds of arc in the sky - not very big!

I aim to try some throught the telescope DSLR photography with my 4" refractor by taking lots of short exposures and adding them in Deep Sky Stacker. To help with this I have added my ETX 90 OTA as a guide telescope - it was quite good fun removing the OTA from the fork mount....

I have set all of this up now and used the camera mount on the 4" to attach the ETX OTA. It is all set to go now having aligned the Telrad, the 4", the ETX and its finder! Having done that I had my usual constitutional up the "hill" to the phone masts.


Took some photos when I got back - not sure if it is going to be clear tonight,  This is the complete setup now.

and the ETX OTA

and the camera attached to the 4".

I can view the rocks on La Pilica hill quite closely through liveview on my laptop. I need some stars now.

It was a clear evening that I spent re-aligning and focusing the equipment starting with Jupiter which showed up well on the laptop screen in liveview. A 1 second exposure of Jupiter through the 4" refractor is shown below.


I then tried a 10 second image of the Pleiades.

 and a 20s exposure


Tuesday
Feb252014

Day 14- Sunny Day - Calar Alto from the Cabrera Arch - Cloudy Evening.

A bright and sunny day today. I will be viewing some potential sites for my more permanent observatory. I was talking just outside my front door when I suddenly realised that I could see the observatory at Calar Alto from my doorstep centred in the Cabrera Arch. I could only see one dome whereas previously I had imaged two from a different vantage point.


 A zoomed in view


and the previous image for comparison


Here is a map showing the "as the crow flies" distance and the distance by road.


 An easier way to see the telescopes at Calar Alto is to link to the video camera set up there! This is a still taken from the webcam video that points to the various telescopes.

Click on it and you will go to the live video feed in a new window. This is live video so you may see a car drive up or down the road!

 Click on the appropriate information below for more on Calar Alto Telescopes

3.5m Photo                                    2.2m Photo                                    1.23m Photo

3.5m Data                                      2.2m Data                                      1.23m Data

3.5m Observatory Cross Section   2.2m Observatory Cross Section1. 


A cloudy evening so no observing!


Monday
Feb242014

Day 13 A cloudy day and the Cabrera Uphill Challenge!

CLICK THROUGH THE LINKS ABOVE TO MOVE FORWARD OR BACK

Clear at first today and then rain moved in. I squeezed in my daily challenge of walking up to the telephone antennae.

The target:


A steep climb:


Made it - my truck below -----------------its a lot harder to get there than it looks-------------------------phone antennae below

Sunday
Feb232014

Day 12 The Moon and the Onion, M31 using Deep Sky Stacker and  IRIS.

CLICK THROUGH THE LINKS ABOVE TO MOVE FORWARD OR BACK

 A clear start to the day. It then clouded over but cleared in the evening so I was out at the telescope.

The Moon was visible from my front window in the morning. Here it is to the right of the Onion Dome house in the village.


A closer view


I set up in the evening as usual with the target of taking multiple short exposures to combine.


The image was taken with my Canon 40D and 38 to 76 mm zoom lens (shown below) set at 76mm. No telescope involved.


This image of The Andromeda Galaxy M31 is a combination of 19 median combined light frames (30s each) with 20 median combined dark frames.


The image was taken using the Canon EOS software and combined in Deep Sky Stacker and processed in IRIS.