My Astronomy


Click here for main

Home Page

 including Dominic

Ford's excellent

monthly calendar


My New Book May 2018


ABOUT THE WEBSITE - CLICK HERE

My Telescopes

My Main Telescope - C14 and Paramount ME

My new Paramount MyT and 8-inch Ritchey-Chretien Telescope

MyT Hand Controller

My Meade 12 inch SCT on a CGEM (Classic) Mount

My 4 inch Meade Refractor with Sky Watcher Guidescope and ZWO camera on a CGEM (Classic) Mount

Skywatcher Star Adventurer Mount with Canon 40D


My Solar setup using a DSLR and Mylar Filter on my ETX90

DSLR attached to ETX90. LiveView image of 2015 partial eclipse on Canon 40D

Astronomy Blog Index
About the Site

 I try to log my observing and related activities in a regular blog - sometimes there will be a delay but I usually catch up. An index of all my blogs is on the main menu at the top of the page with daily, weekly or monthly views. My Twitter feed is below. I am also interested in photograping wildlife when I can and there is a menu option above to look at some of my images. I try to keep the news feeds from relevant astronomical sources up to date and you will need to scroll down to find these.

The Celestron 14 is mounted on a Paramount ME that I have been using for about 10 years now - you can see that it is mounted on a tripod so is a portable set up. I still manage to transport it on my own and set it all up even though I have just turned 70! It will run for hours centering galaxies in the 12 minute field even when tripod mounted.


My Recent Tweets

Entries from March 9, 2014 - March 15, 2014

Saturday
Mar152014

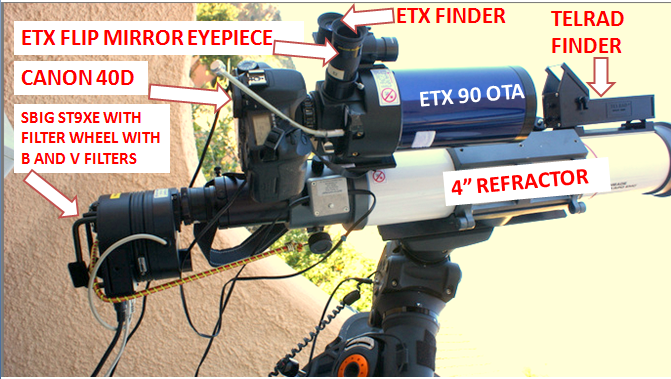
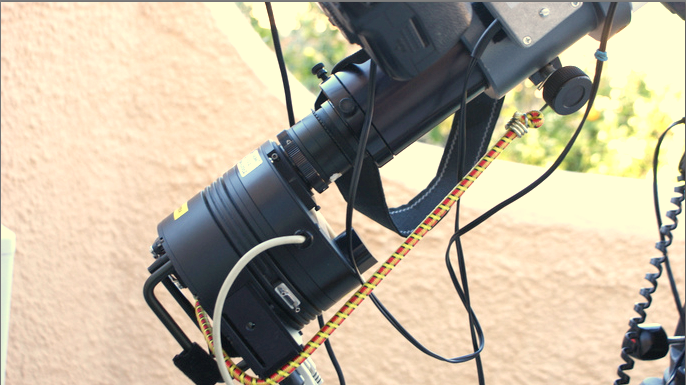
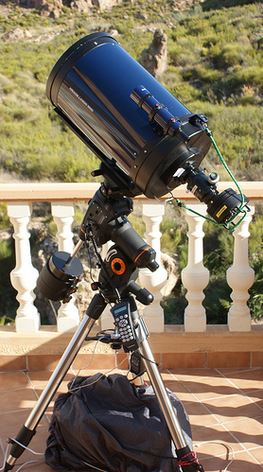
Day 32 Clear night - Trial of 4" Refractor and SBIG ST9XE Combination

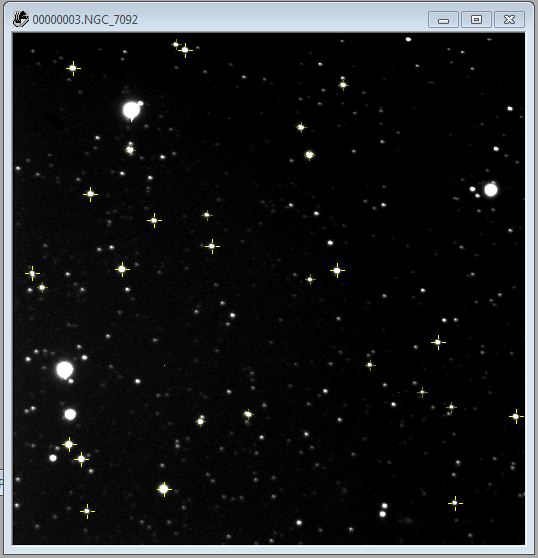
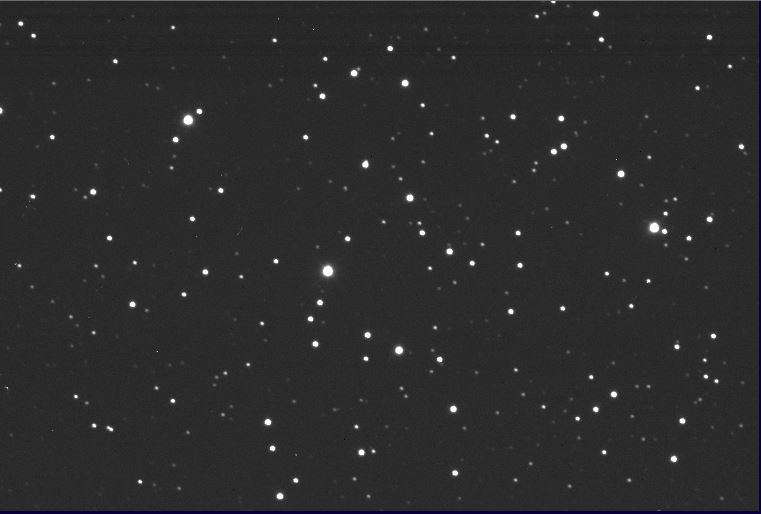
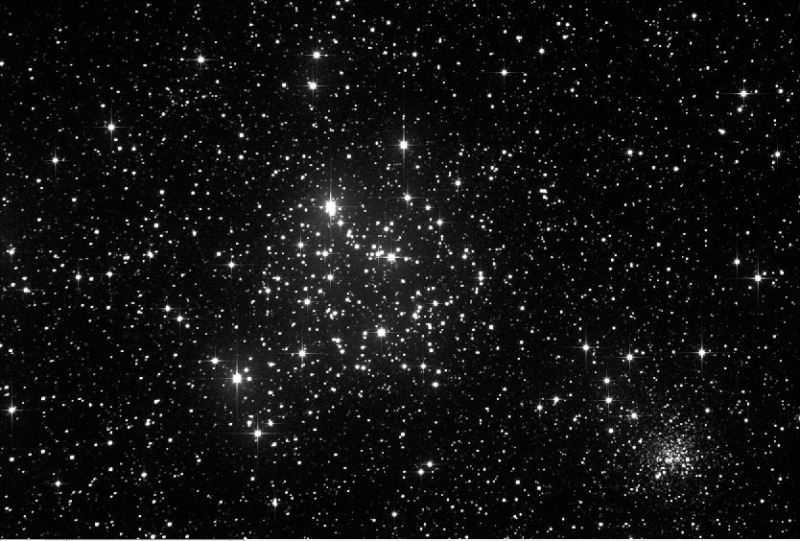
A clear night with a 99% phase Moon!  I removed the focal reducer from my 4" refractor setup and took a number of images. The go to was very accurate once I went throught the normal setup on the CGEM. Most gotos were dead centre. I targeted a number of open clusters. All my images were 30 seconds. First of all M35 taken with a V filter.

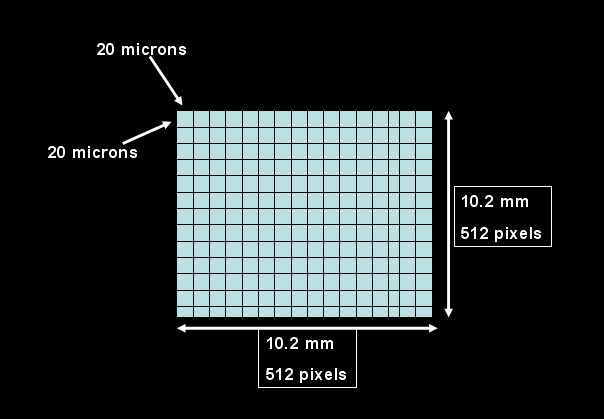
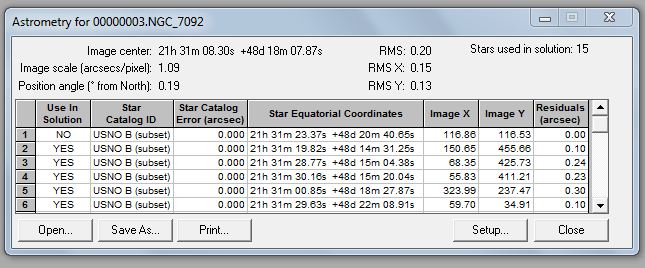
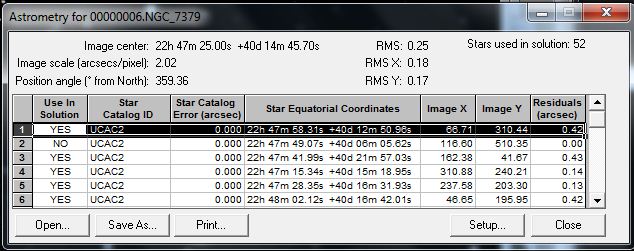
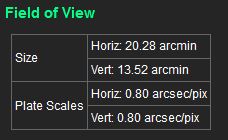
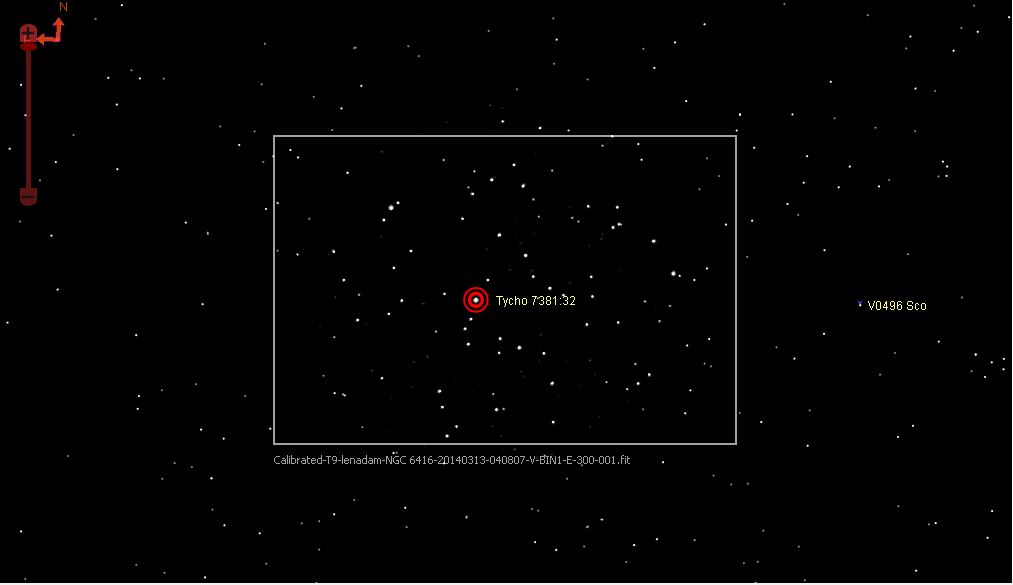
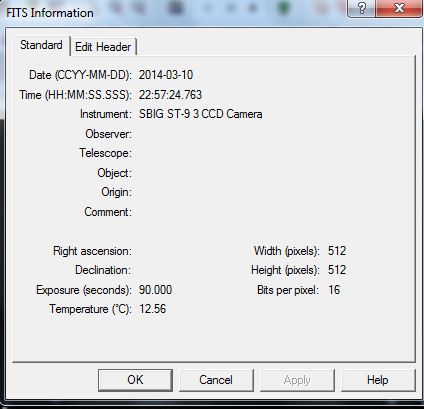
I carried out a plate solution in SkyX to determine the field of view and plate scale.

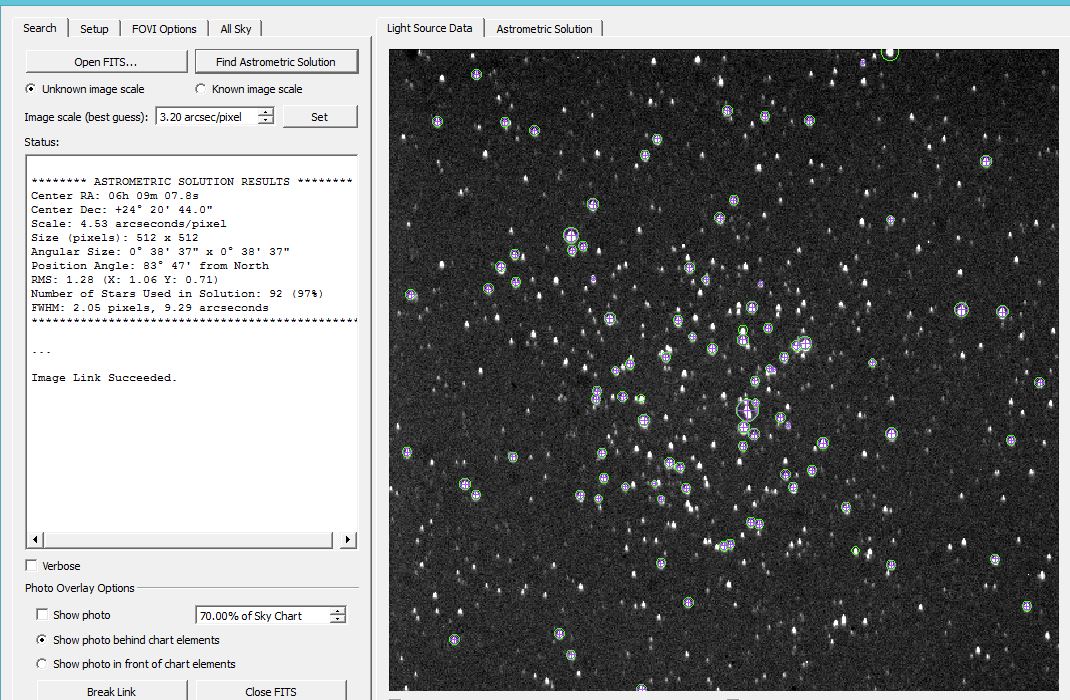
So the field of view of the SBIG camera +4" refractor without the focal reducer is 38' 37" X 38' 37" and the plate scale is 4.53 arcseconds per pixel.  The camera is 83 degrees off north - I could rotate the camera to make north at the top to make life simpler. So the gotos were accurate to within that 38 minute field of view.

Then M35 again with a B Filter this time for the same exposure. The star brightnesses change depending upon their colour.


I will load both of these into VPhot at the AAVSO and determine V and B magnitudes for as many of the cluster stars as possible.

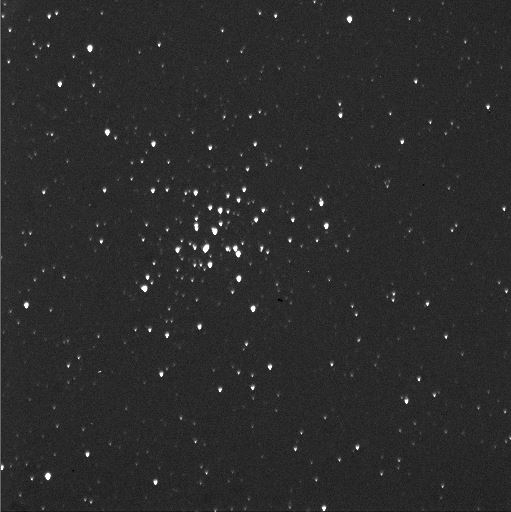
Then on to M36 with a V Filter
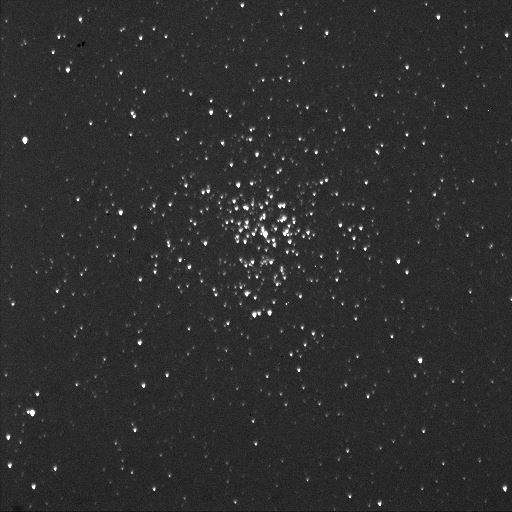
M37 with a V Filter

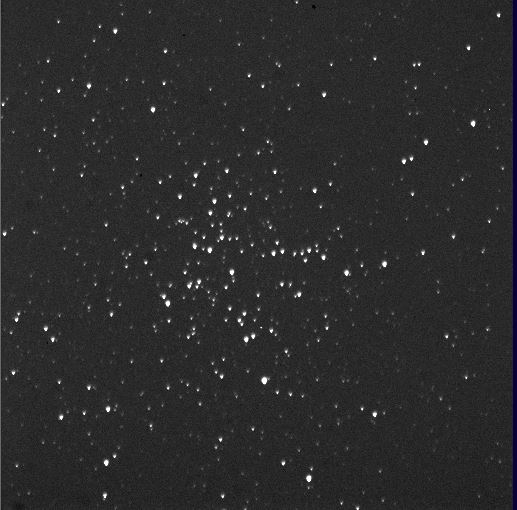
and M38 with a V Filter


OK not very exciting images but jam packed with data about the clusters. It just needs a bit of work to extract it!

I can make it more exciting in Photoshop! - Same image as above


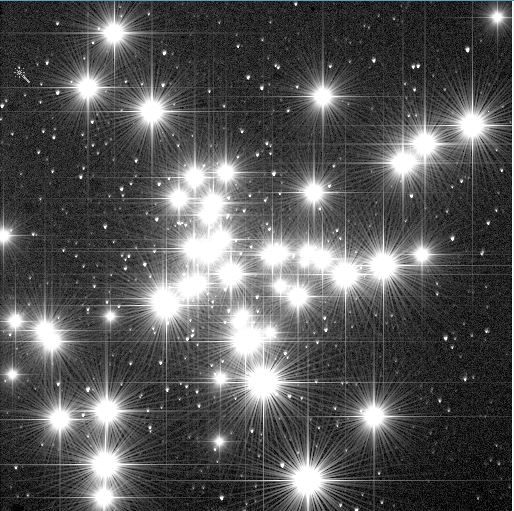
Of course all of the data has now gone!!

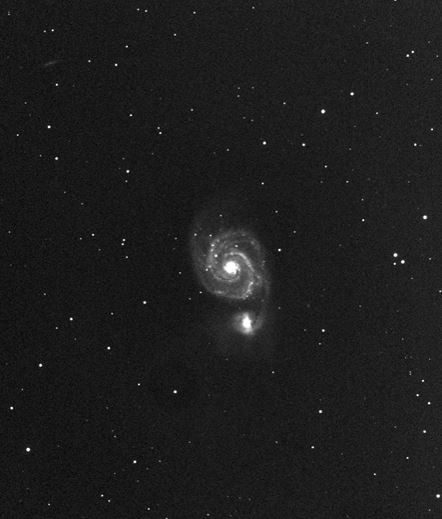
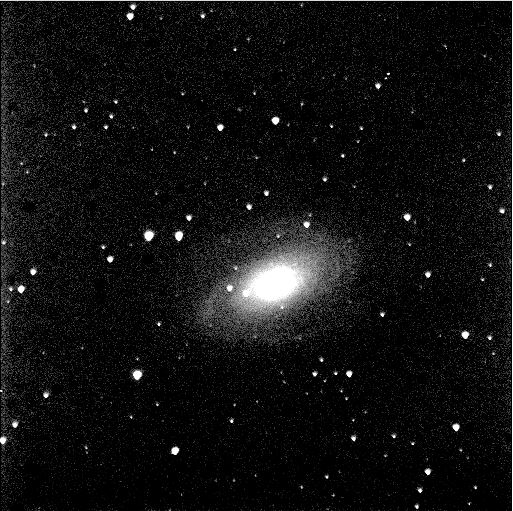
I took a 30 second image of M81


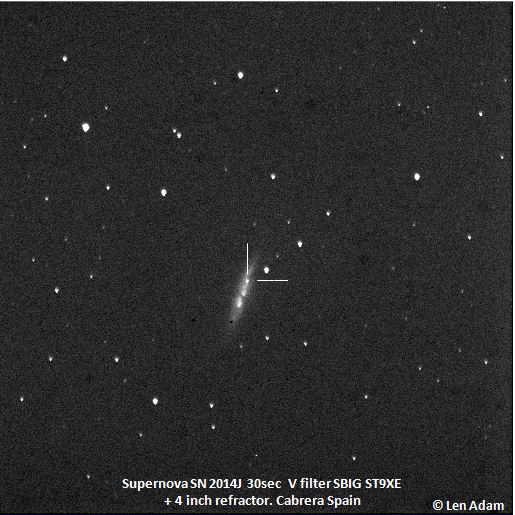
and checked on the state of the supernova in M82

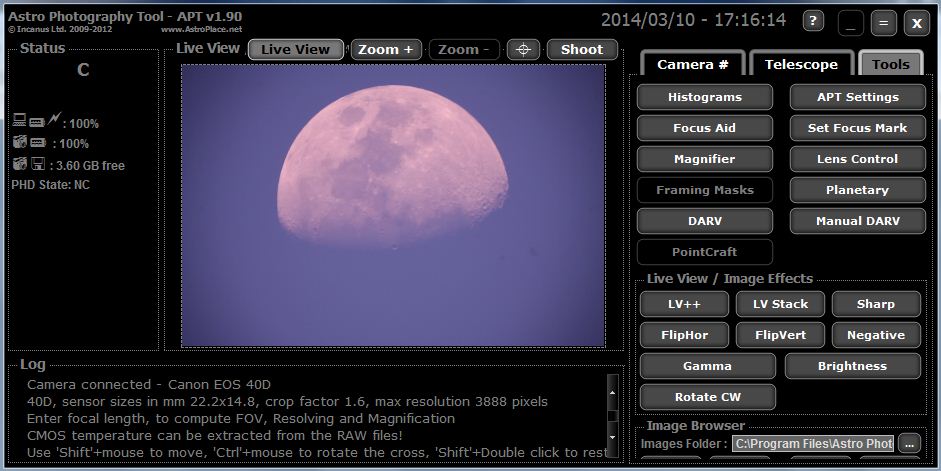
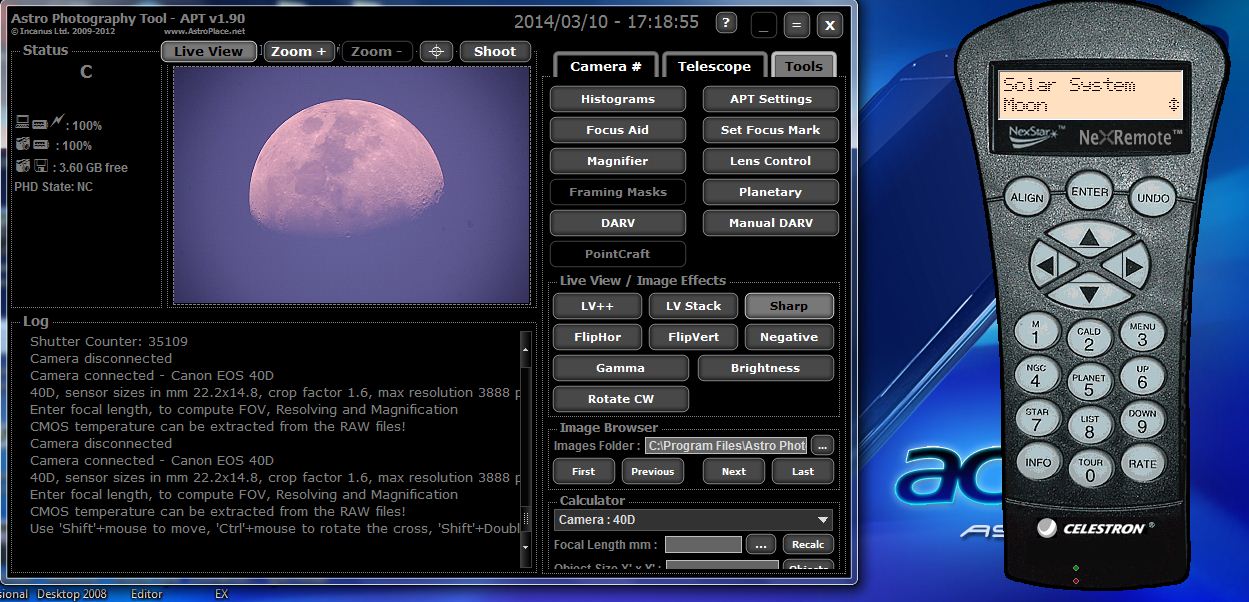
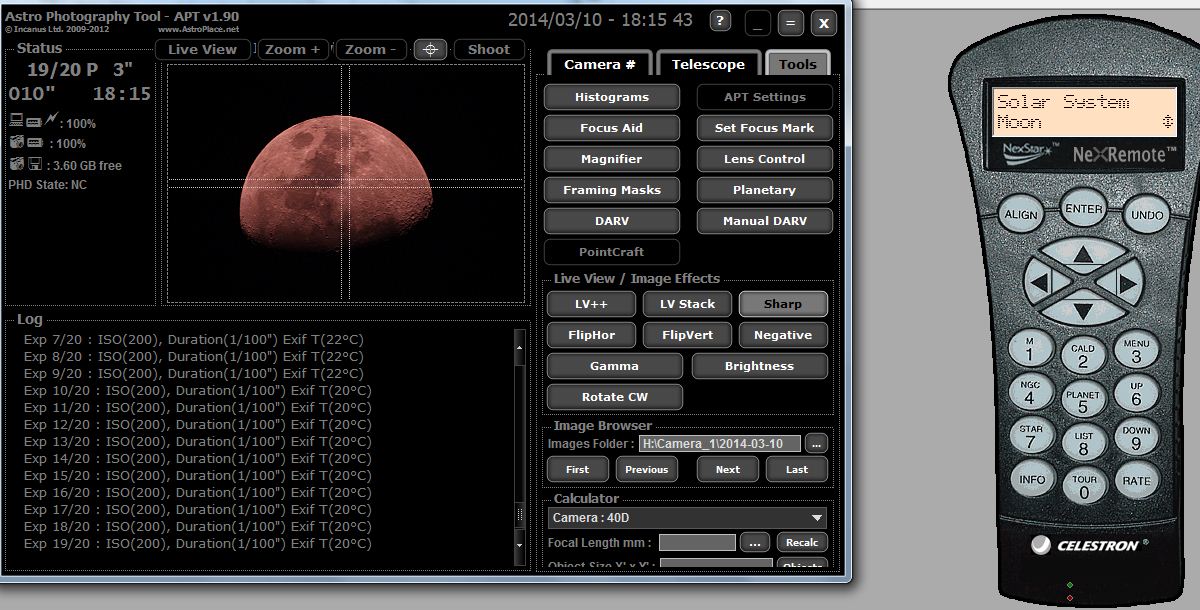
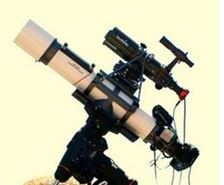
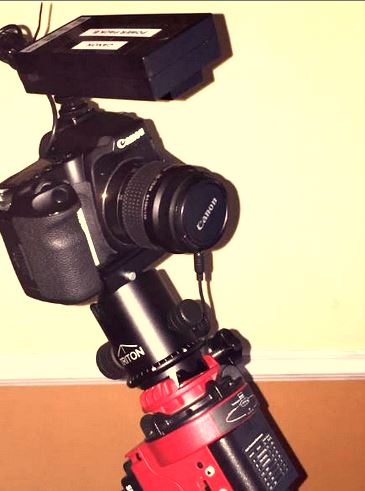
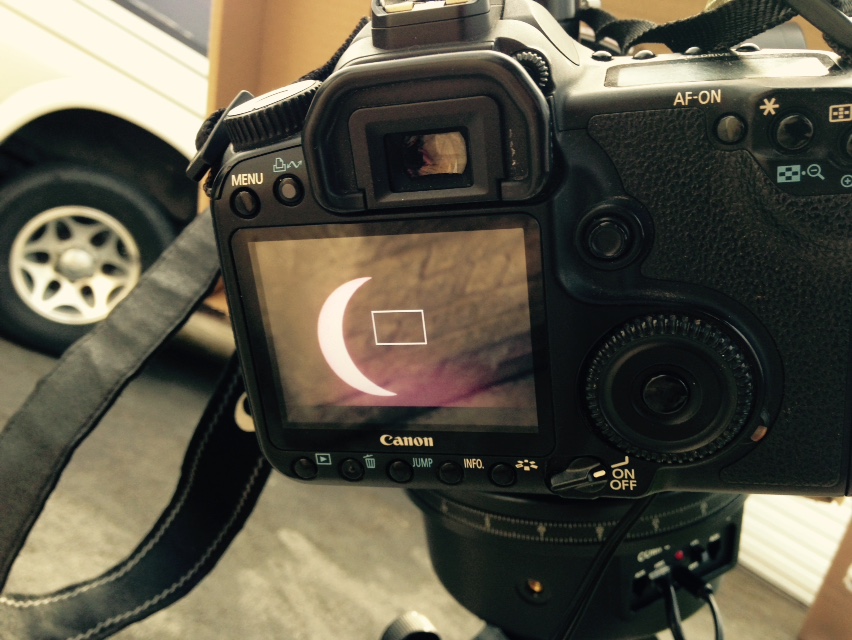
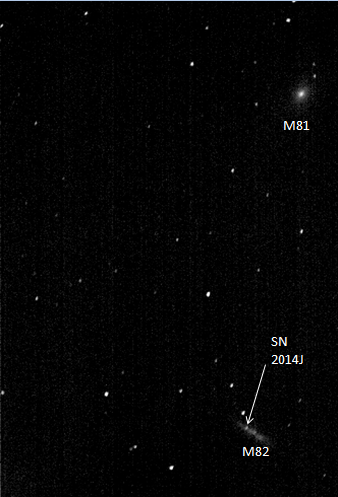
This was the image taken a few days back with my90 mm  ETX and Canon 40D


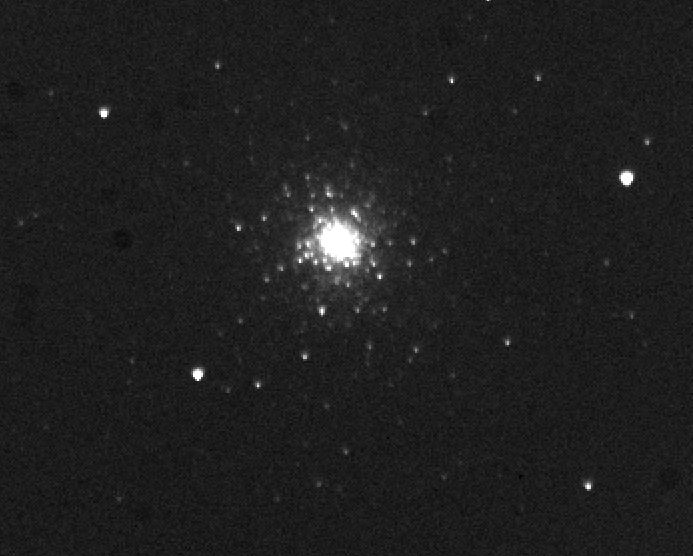
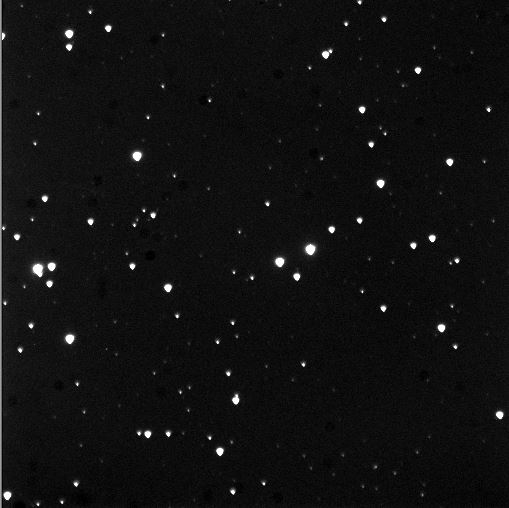
 A 30s image of globular cluster M3

 and open cluster M44
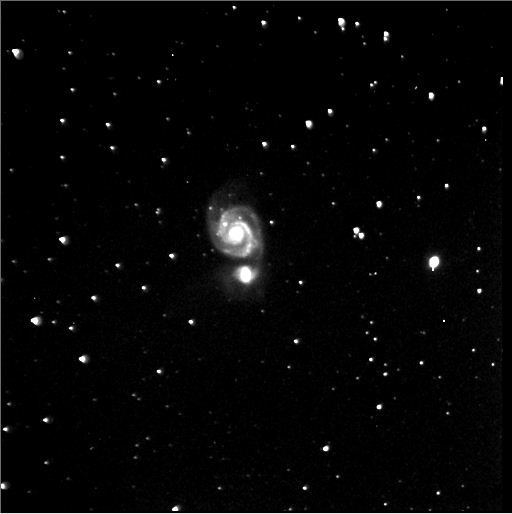
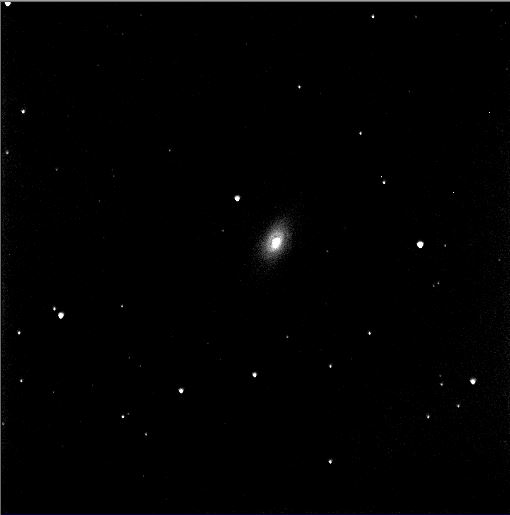
 then galaxy M64


and finally open star cluster M67 (Unfiltered)


Friday
Mar142014

Day 31 - C14 Telescope with SBIG ST9XE Camera

No Spanish astronomy today - I have taken some remote cluster images from New South Wales that I am working on but thought I would describe my C14 setup with and without a focal reducer. I show an f/6.3 reducer here but have now moved on to a X0.8 reducer.

Camera Setup 1 SBIG ST-9XE with C14 at full focal length


The camera is an SBIG ST-9XE which has a pixel array of 512 X 512 square pixels each of which measures 20 microns on each side.

This gives a CCD side length of 512 X 20 microns which is 10.2 mm. Of course as the CCD is square with square pixels I get a square image.  If the camera is used with my  f/11 Celestron 14 SCT, which has an clear aperture of 355.5mm ,then the focal length is 11 X 355.5 = 3910 mm. The CCD dimensions and focal length can be used to determine the field of view of the CCD with this particular telescope setup .With a knowledge of the field of view of the entire chip the number of arcseconds per pixel can be determined. The FOV is given by 10.2/3910 radians which is 8.96 minutes of arc. The number of arc seconds per pixel will therefore be 8.96X60/512 = 1.05 arcesconds per pixel. This is close to the figure determined by the method below.


 The exact scale can be determined by taking an image then finding a plate solution using The Sky which gives the exact number of arcseconds corresponding to each pixel.

Here is an example. The image below was taken with the set up described above.


The astrometric solution gives the scale of 1.09 arcseconds per pixel.


 So this means with 512 pixels, the exact size of each image is 512 X 1.09 arcseconds = 558.08" = 9.3'

So the Field of View with this set up is 9.3 arc minutes X 9.3 arc minutes.

Note also that the position angle from North is 0.19 degrees which is an acceptable value. It is not essential to have the camera with North at the top but avoids having to rotate the image to give a North up view.


Camera Setup 2 SBIG ST-9XE with C14 with f/6.3 Focal Reducer


  If an f/6.3 focal reducer is used the calculations are as follows.

Pixel size         2.00E-05    
Number of Pixels       512    
Chip Size         1.02E+01 mm  
Focal Length of Telescope     3910 mm  
Diameter of Primary Mirror     355.5 mm  
FocalRatio        11    
Effective Focal Length with f/6.3 reducer   2239.364 mm  
FOV         4.57E-03 radians  
FOV         1.57E+01 minutes of arc
Image scale       1.84E+00 arcseconds
               
From plate solution the ACTUAL Image Scale is  2.02 arcseconds per pixel
So image size is       17.23733

minutes of arc


minutes of arc


The image above was taken at f/6.3 and solved as below


So the image size is 17.24 minutes of arc


Thursday
Mar132014

Day 30 Cloudy in Spain, NGC 6416 imaged using T9 with a V Filter in Siding Spring 

The day started well - as I type some clouds have appeared and the sun is behind them! It developed into a fairly poor day with gusty winds - not looking good for observing. I think it is due to improve over the next few days.

No clear skies here so I used telescope T9 in New South Wales to image a couple of open clusters that are part of a project I am working on. The first cluster was NGC 6416.

This image is taken with  a V Photometric Filter as my project is about the photometry of open clusters.


The next image is a negative of NGC 6416


 So North is up and East is to the left. The scale is shown by the 1 arc minute line at lower left.

The table below gives the field of view of the image and the plate scales

So it is quite a small field of view.

I chose this telescope to image this object as the catalogue size of the object is 15' X 15' - so a fairly tight fit.


Note that the date given on the image is tomorrow the 13th March as Siding Spring is ahead of us  but the time given is Universal Time. So it was 5.11 p.m. in the UK, 6.11 p.m. in Spain but in Siding Spring it was 4.11 a.m. the next morning.

I did a plate solution in SkyX as shown below


I set the plate scale at 0.8 arceconds per pixel so the SkyX could work out the precise scale of the map to compare the image with to be able to get a solution and an agreement on 103 of the stars in the image.

The next stage was to look at the area of the image superimposed on the SKyX chart.

 I have clicked on a star on the chart and used the Tycho catalogue designation and information.

The Tycho catalogue includes photometric magnitudes for the stars in B and V. The V magnitude for the star is given as 8.83 so I now have a reference magnitude for a comparison star. By identifying a few more for comparison and check stars in the same way I can determine the V magnitude for all of the stars in the cluster from the image using VPhot. To be continued.........

Wednesday
Mar122014

Day 29 Clouds in New Mexico, Sierra Nevada and Spain. The Sky this Week from Sky and Telescope Video.

This is what it is like in New Mexico at the moment

and in Sierra Nevada USA at the moment


and where I am in Cabrera in Spain a few moments later - not much better - I hope it improves by the time it gets dark!

 This week's Sky and Telescope video talks about the morning sky. It refers to daylight saving time changing this week but in Spain - and the UK -  the clocks don't change until March 30th. Most  US states changed on Sunday 9th March - with exceptions such as Arizona and Hawaii and others.

THIS WEEK

)

 Last week's video talked about Jupiter

LAST WEEK

)


The weather deteriorated into the evening - I had to give up any thought of observing.


Tuesday
Mar112014

Day 28 Improved Pointing and Tracking, M51 with the Canon 40D and 4 inch refractor.

Following the alignment of the CGEM last night I checked the pointing and tracking of the mount which had improved considerably. I imaged M51 (single 90 second image) using the SBIG ST9XE CCD camera and the 4" Meade Refractor with the following result.

This is the FITS data about the above image


I managed to get to Telescope T11 in New Mexico today to image (300 second exposure) the same object for comparison purposes.


 My image was not too bad for a 0.1m telescope when you consider that I just took the  second image with this 0.5m telescope in New Mexico.

Monday
Mar102014

Day 27 Astrophotography Tool, The Moon with the Canon 40D and Step by Step Instructions for All Star Polar Alignment


I used the new setup today. I looked at the Moon first of all at 1816 UT. This is via the Canon 40D on the ETX90 viewed in APT.

and again at 1819 UT - showing how I have selected the Moon on the NexRemote virtual handset


and again at 1915 UT. The log shows the exposures I have taken at 1/100th of a second ISO 200 at around 20 degrees C.


I am finding it difficult to align the ETX and the 4" refractor as I only have a camera mount for the ETX which I need to "shim" to get approximate alignment.

I went through the process of 2 star alignment on the CGEM with 4 additional calibration stars and then went through the process of polar alignment using the all star alignment method.

ALL STAR ALIGMENT PROCESS

1. I pressed the UNDO button on the handset (the actual handset not the NexRemote virtual handset - you need to be at the telescope for all of this!) I was then back at the "CGEM READY" display.

2. I then pressed the LIST button and used the down button to get to the NAMED STARS option. You must choose a star that is high in the South near the meridian so I chose PROCYON and pressed ENTER.

3. The CGEM slewed to Procyon.

4. I then pressed the ALIGN button on the handset and then the down button to get to POLAR ALIGN. I then pressed the down button to get to ALIGN MOUNT and pressed ENTER.

5. I centred Procyon in the finder and eyepiece as advised by the handset using the buttons on the handset pressing ENTER and ALIGN as usual.

6. I then pressed ENTER again to start the actual alignment. The telescope slewed again - this time pointing to where it thought Procyon should be if the telescope was properly aligned. Of course Procyon was no longer in the eyepiece.

7. I then adjusted the ALTITUDE and AZIMUTH knobs on the mount until I once more had Procyon in the eyepiece.

8. I then pressed ENTER and the handset responded with ALIGNMENT COMPLETE.


At that point the polar axis should be pointing at the North Celestial Pole.


Sunday
Mar092014

Day 26 Telescope 2 Setup and the Telrad

I decided to utilise the SBIG ST9XE on the 4" refractor as it was not a combination I had tried before. The setup is now like this.

The camera was attached with the 0.8X focal reducer in place so there should be a fairly wide field of view.

I managed to reduce down to a single USB cable as I had managed to get the USB hub working as normal. There are four devices now controlled through the single USB cable - the CGEM, the Canon 40D, the SBIG camera and the filter wheel. I could also have added the electronic focuser but did not have an adaptor to attach the focuser to the 2" telescope fitting. So I am using CCDSoft to control the camera and the filter wheel, APT - Astrophotography Tool to control the Canon 40D and NexRemote to control the telescope or the Sky6 if appropriate. I used the Sky6 in the past to slew the CGEM through a list of galaxies which were imaged automatically.(When I had a 12" Meade on the CGEM a couple of years ago).

The Telrad proves extremely useful - this is what it looks like

This is a view of the Moon sighting through the Telrad


 The Telrad is structured as shown below.